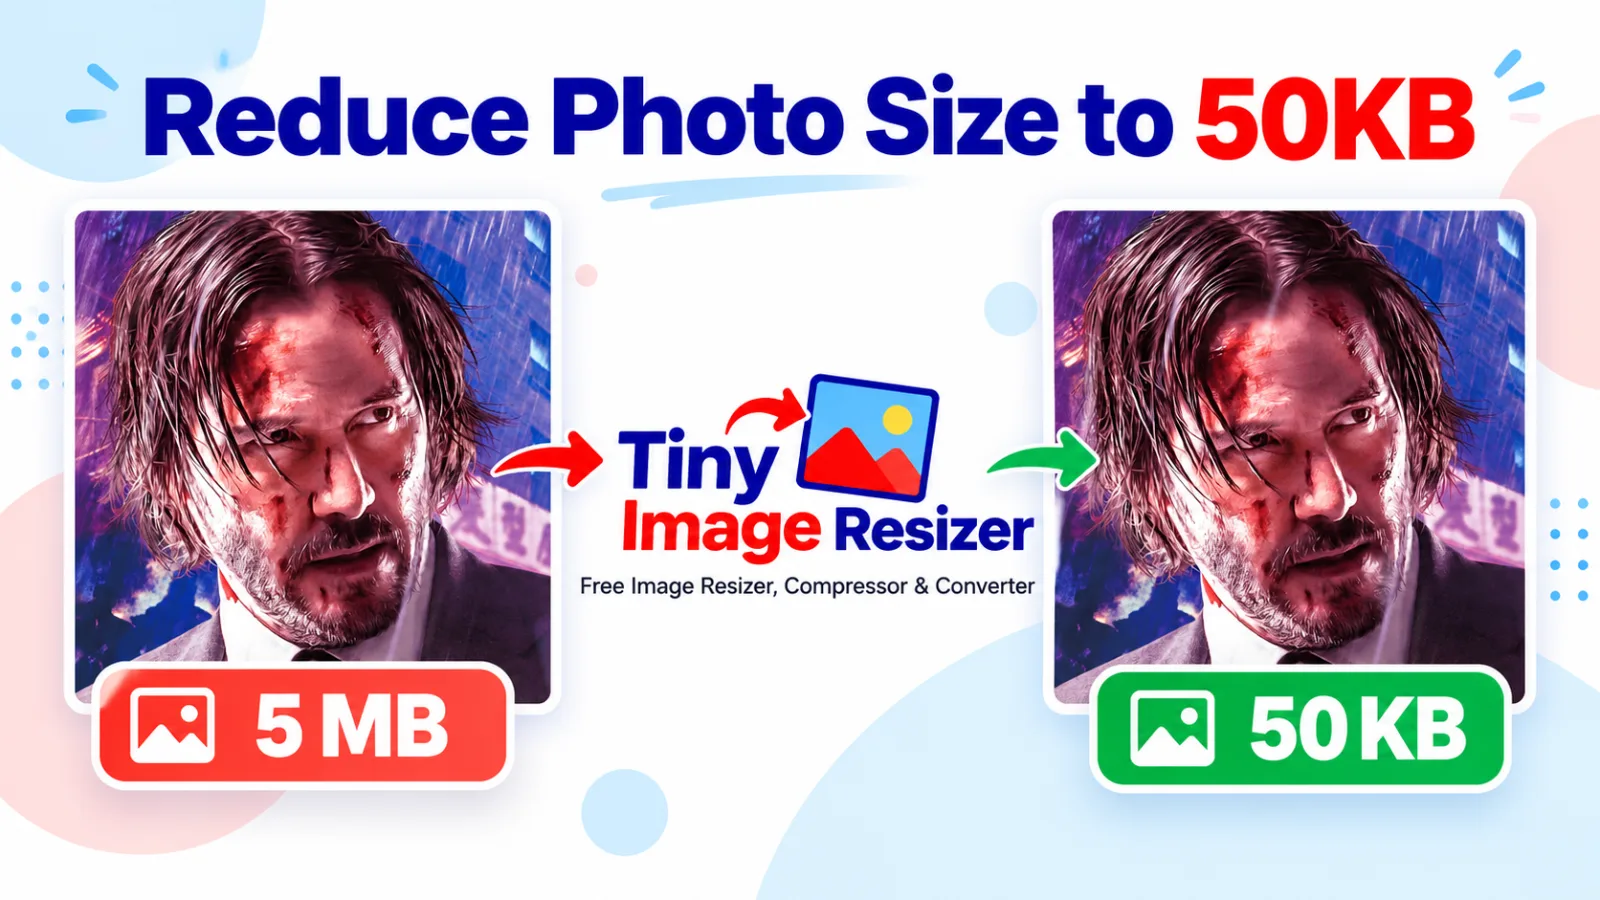
How to Reduce Photo Size to 50KB Without Losing Quality
Key Takeaways
- Start with the original JPG or JPEG whenever possible.
- Resize very large photos before applying heavy compression.
- Keep the image aspect ratio locked when resizing.
- Don't rely on an extremely low JPEG quality setting just to reach 50KB.
- Check the required image dimensions as well as the 50KB file-size limit.
How to Reduce Photo Size to 50KB Without Losing Quality
Trying to upload a photo to an online form can be frustrating when the website says the image must be under 50KB.
Your original photo might be several megabytes, and simply lowering the image quality until the file is small enough can make the result look much worse than it needs to.
The good news is that you don't always need to sacrifice a huge amount of quality to get below 50KB.
The trick is to reduce the parts of the image that are using the most space while keeping the dimensions and visual quality appropriate for what you're uploading.
Why Does a Photo Need to Be Under 50KB?
Many online forms place strict limits on uploaded images.
The limit may be there because smaller files are quicker to upload, use less storage and are easier for a website to process.
A modern phone photo, however, is designed for high-quality viewing rather than tiny upload limits.
A single photograph can easily be several megabytes because of:
- Large pixel dimensions: A phone camera may capture thousands of pixels across and down.
- High image quality: Camera software usually keeps a lot of visual detail.
- Detailed scenes: Hair, trees, clothing, shadows and textures all add more information to the image.
- Metadata: Some files also contain camera and other information that isn't necessary for the final upload.
If a website has a 50KB limit, the original photo often needs to be optimized substantially.
What Is the Best Way to Get a Photo Under 50KB?
There isn't one setting that works perfectly for every photograph.
In most cases, the best results come from combining appropriate image dimensions with JPEG compression.
Reduce the Dimensions When the Original Is Very Large
Consider a phone photo that is 4000×3000 pixels.
That's far more resolution than an online form may need.
If the upload only needs a small photograph, keeping millions of pixels can make the compression process much harder.
Reducing the dimensions first can therefore make it much easier to reach 50KB without completely destroying the image quality.
The important part is to resize the image proportionally.
Don't independently change the width and height just to make the file smaller.
Use JPEG for Photographs
JPEG is a good fit for most ordinary photographs because it can store photographic images using much less space than a lossless format such as PNG.
The trade-off is that JPEG compression removes some information from the image.
At reasonable levels, the difference may be difficult to notice.
At very aggressive levels, artifacts become much easier to see.
Don't Keep Guessing With the Quality Slider
One common approach is:
90% → still too large
70% → still too large
50% → still too large
30% → finally under 50KB
The problem is that you may end up compressing the image more than necessary.
Instead of repeatedly guessing, use a tool designed to work toward the target file size.
How to Compress a Photo to 50KB
Step 1: Start With the Original Photo
Whenever possible, use the original JPG or JPEG rather than a version that has already been compressed several times.
This gives you more room to optimize the image.
Step 2: Open the 50KB Image Compressor
Open our Compress to 50KB tool and upload your photo.
The tool is designed around the actual file-size limit rather than asking you to guess a quality percentage.
Step 3: Check the Result
Once the image has been processed, inspect the preview.
Look at the parts that matter most for your particular image.
For a portrait, check the face and hair.
For a document or form image, check small text and sharp edges.
For a product photo, check fine details and outlines.
Step 4: Download the Image
When the image is below 50KB and still looks suitable for its purpose, download it and upload it to the form.
Does Reducing the Resolution Reduce Quality?
Yes, but that isn't necessarily a bad thing.
Reducing dimensions means reducing the number of pixels in the image.
If the original image is much larger than the size required by the website, those extra pixels may not provide much visible benefit at the final display size.
For example, a 3000-pixel-wide photograph may not need to remain 3000 pixels wide if the form only displays a small thumbnail.
What matters is choosing dimensions that are still large enough for the intended use.
Can a Good-Looking Photo Really Be Under 50KB?
Sometimes, yes.
But the answer depends on the image.
A simple portrait against a plain background may compress very well.
A photograph containing trees, grass, fabric, hair and lots of tiny details may require more data to preserve the same visual appearance.
The original dimensions also matter.
A small, simple image has a much easier path to 50KB than a huge, highly detailed photograph.
So there isn't a universal JPEG quality percentage that guarantees a good result at exactly 50KB.
50KB vs 100KB: Which Is Easier to Maintain?
A 100KB limit gives the image more room for detail.
With a 50KB limit, you usually have less data available, so image dimensions and compression settings become more important.
This doesn't mean a 50KB photo has to look bad.
It simply means you need to be more careful about how much information the image contains.
If an application specifically requires 50KB or less, don't assume that compressing to 100KB will work.
You need to meet the actual limit.
What If the Image Is Still Too Large?
If your photo is still above 50KB, there are a few things you can look at.
- Check the dimensions: The image may still be much larger than necessary.
- Crop unnecessary areas: Removing empty background can reduce the number of pixels.
- Use JPEG for photographs: PNG is often much larger for detailed photographic images.
- Remove unnecessary metadata: Extra information inside the file may contribute to its size.
- Avoid repeated editing: Save from the original whenever possible instead of repeatedly recompressing the same file.
Don't immediately push the quality down to an extremely low level.
A better result often comes from reducing unnecessary pixels first and then applying sensible compression.
Don't Forget About Image Dimensions
Getting below 50KB is only one requirement.
Some forms also specify:
- Minimum width and height
- Exact dimensions
- Required aspect ratio
- JPG or JPEG format
- A specific background
- A maximum file size
For example, an image can be 45KB and still be rejected because it is too small or has the wrong aspect ratio.
Always read the upload instructions before preparing the final image.
Common Mistakes When Trying to Reach 50KB
Compressing a PNG Photo
PNG is excellent for certain types of images, but it is usually not the most space-efficient choice for ordinary photographs.
Converting a photographic PNG to JPG can often produce a much smaller file.
Stretching the Image
Changing the width and height independently can distort faces, logos and other objects.
Keep the original aspect ratio whenever you resize.
Repeatedly Saving the Same JPEG
Editing and saving a JPEG over and over can introduce additional compression artifacts.
Start from the best original copy you have.
Ignoring the Required Dimensions
Meeting the 50KB limit doesn't guarantee that an application will accept the image.
Check the complete specification.
Final Thoughts
Reducing a photo to 50KB is mainly about finding the right balance.
You don't want to keep unnecessary pixels, but you also don't want to reduce the quality far more than necessary just to hit the file-size limit.
For many photos, the practical approach is to use sensible dimensions, choose an efficient format such as JPEG, and let the compression process work toward the required size.
For a quick way to get started, use our Compress to 50KB tool and check the final image before uploading it.
Remember that 50KB is a file-size requirement, not a quality setting. The best result is the smallest file that still meets the dimensions and appearance required for your particular form.
Frequently asked questions
Is this conversion free to use?
Yes, our online tools are 100% free with no account required.
Reduce Your Image to 50KB
Private & Client-Side Image Processing
Your images stay safely in your browser. Here is how our architecture protects you:
Image processing is performed locally in your browser memory for all supported tools, so your selected files never need to be uploaded to an external processing server.
No storage or file harvesting. Because operations occur client-side, we never copy, view, or retain your personal photographs or documents.
Instant speed and zero bandwidth costs. With local Canvas and WebAssembly execution, files are processed at full device speed without cloud upload lag.
More guides & articles
How to Compress an Image to 500KB Without Losing Quality
How to Compress an Image to 20KB for Online Forms